Wednesday, June 15, 2011

Esther's WIP Wednesday #5

Hi All
It's been a very busy week for me. On Monday I painted my hallway and when my husband got home from work I had him installed the light fixer.  We are celebrating the fourth of July in our house this year so everything needs to be ready in the next 2 weeks. 
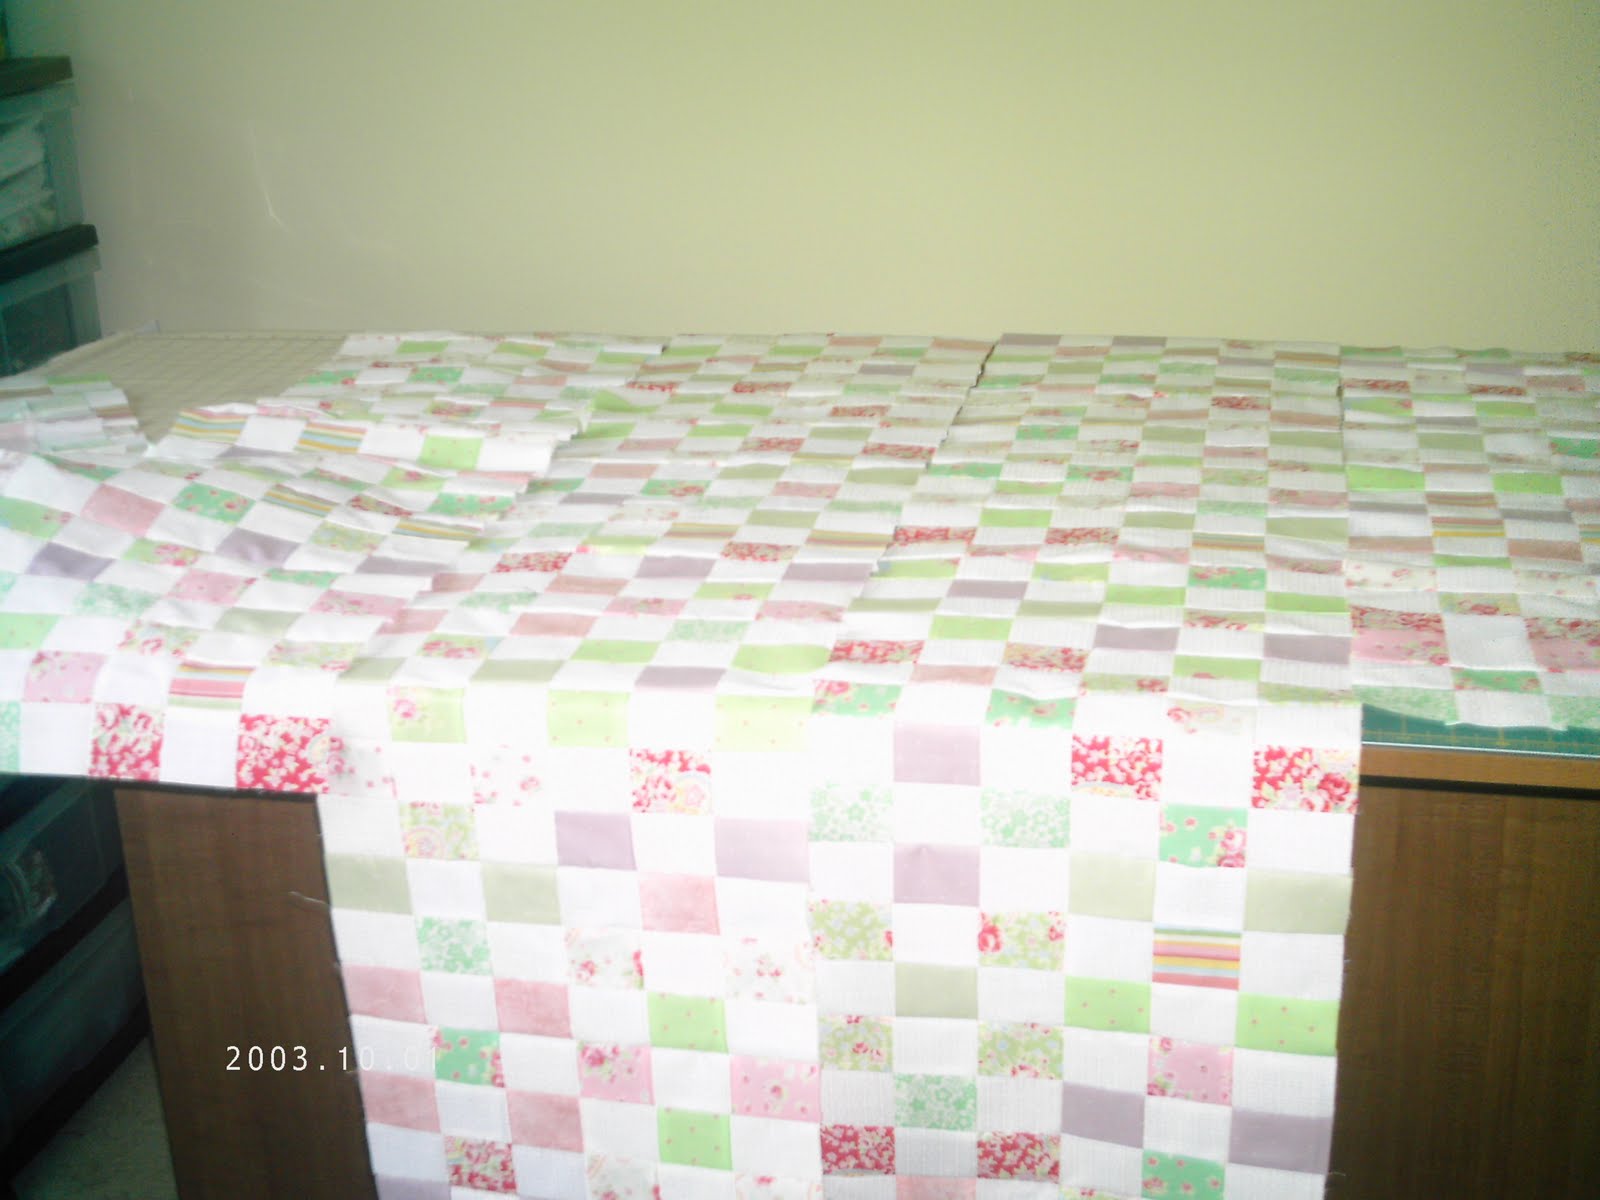
I did get a chance yesterday to do some sewing on the Postage Stamp Quilt I've been working on as you can see I started putting the strips together and it coming out pretty good.  I'm hoping to have it finish in the next couple of weeks.  However, with the fourth right around the corner getting to my sewing room is going to be a challenge:)  By the way I also signed up for Rachel Griffith synchronized squares quilt along: here is her website if you want to join in I think it's going to be fun.  http://www.psiquilt.com/2011/06/synchronized-squares-quilt-along.html?utm_source=feedburner&utm_medium=email&utm_campaign=Feed%3A+blogspot%2Frachelgriffith+%28p.s.+i+quilt%29

I would like to thank Esther for doing this Wednesday WIP it's making me challenge myself in getting these projects done otherwise they still would be sitting in the to do box ;o)


Wednesday, June 8, 2011

Esther's WIP Wednesday #4

Hi, All
Last week I said I was hoping to finish the Amish Pinwheel quilt for my sewing room by this week.  Done deal it is finish, however, I haven't been able to hang it on the wall yet hoping to do that this weekend.


I also started my version of the Postage Stamp quilt pattern.  If you read my blog you'll understand why this is my version of the pattern rather then the original version of the pattern. Even though it's not the original version I'm still very happy with the quilt just as it is:)  Here is a preview of the quilt hoping to have it finish sometime this month. Maybe not since its going to be a Queen or King size haven't decided as of yet. KEEP QUILTING :)


Thursday, June 2, 2011

Postage Stamp Quilt

You, know how sometimes you  get so down on yourself that we need to have someone else set us straight.  Well that is what happen to me a few days ago.

Several weeks ago I was looking through my email and I came across Amy Ellis Link: http://amyscreativeside.com/2011/03/28/one-thing-one-week-challenge-link-up-7/?utm_source=feedburner&utm_medium=email&utm_campaign=Feed%3A+amyscreativeside+%28Amy%27s+Creative+Side%29
She had done a challenge several months before and looking through all the postings I came across a posting of the Postage Stamp Quilt Pattern.  I just knew that had to be my next project; it's easy, simple and I figure fast. I had the prefect fabric.  I had just purchase fabric from the Fat Quarter Shop online the fabric from Lucien called Sugar Flowers perfect, very springing:) so here I go right.
 By the way the quilt I saw was done with jelly rolls.  However, I had purchased fat quarters so I had to cut all the strips and then start to sew the strips together, now once the strips are sewn together I started to cut the strips into smaller strips.  Okay, I'm almost finish :) when I realize that I had sewn the strips wrong:o( what have I done!For anyone that knows the pattern you sew different strips of fabric together: In other word one print fabric and one solid color fabric and then another print fabric and so on and so on.  I however, did print fabric, solid fabric and "same" print fabric.
I was beside myself, anyone that knows me knows I can be very hard on myself. I was so upset at what I had done how can I fix this without taking the small blocks apart and starting over. So I wrote to someone very special to me and explain what I had done. She send me an email today and said to me that she believes in me and she knows that I will come up with the solution and not to be so hard on myself that we all make mistake and that we just have to work through them and move on.  I decided to do my own version of the Postage Stamp quilt pattern. It's turning out better then I thought it would and I'm happy with it now: Here is a picture of the quilt so far: I'll post the progress as I go.


 Now here is a picture of the quilt done correctly: